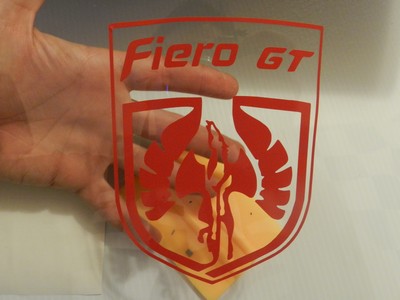
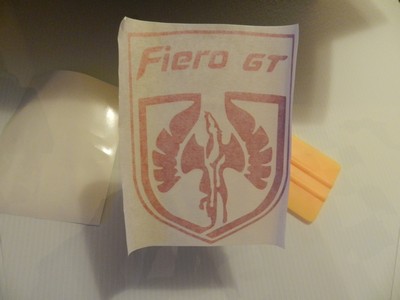
Fully removed from the tape, you will see the image in vinyl (reversed unless you ordered a mirrored image for mounting on the INSIDE of a window), this example shows mounting on the exterior of a surface:
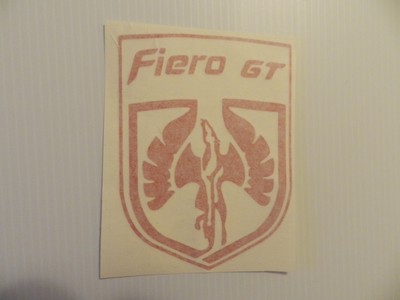
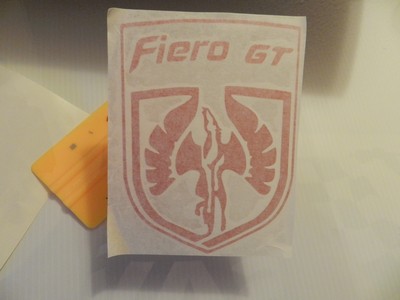
Stick the tape with the image on top of the surface you are applying to. Lay it gently, and avoid all bubbles and wrinkles, this step is critical:
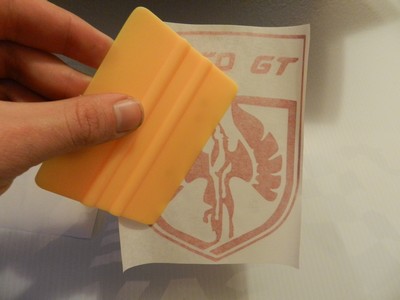
Smooth over the tape, with your vinyl underneath. Start from the center, and press firmly at an angle in order for the vinyl to stick to the surface. Avoid any bubbles, pushing them out to the edges:
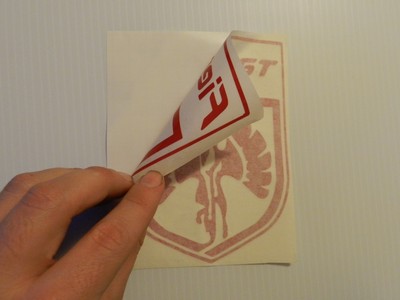
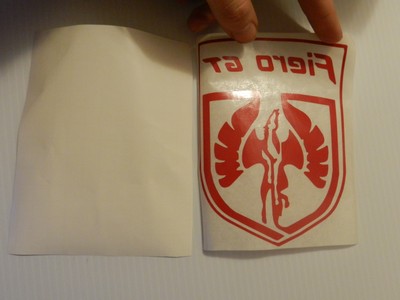
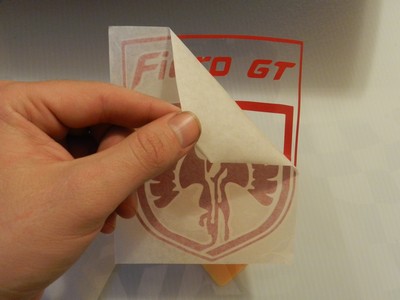
After your satisfied with the image, begin to lift the paper, start from one corner and keep checking to make sure the vinyl is not coming up with the tape, it helps to pull at a sharp angle. If it starts to lift, gently lay the tape back down, and press back onto the surface again until the vinyl grabs. Be careful not to stretch or rip the vinyl:
Once done, any small air bubbles will come out with the sun in a few days, larger ones may require a small pin hole to press out the air if they do not disappear on their own.